Need support?

Please leave a message

×

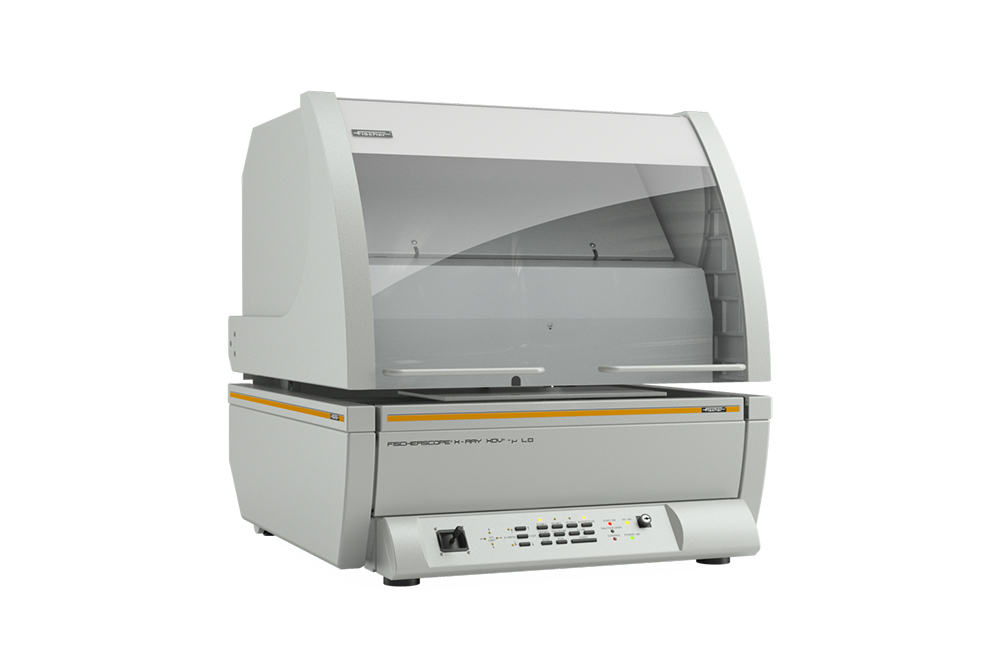
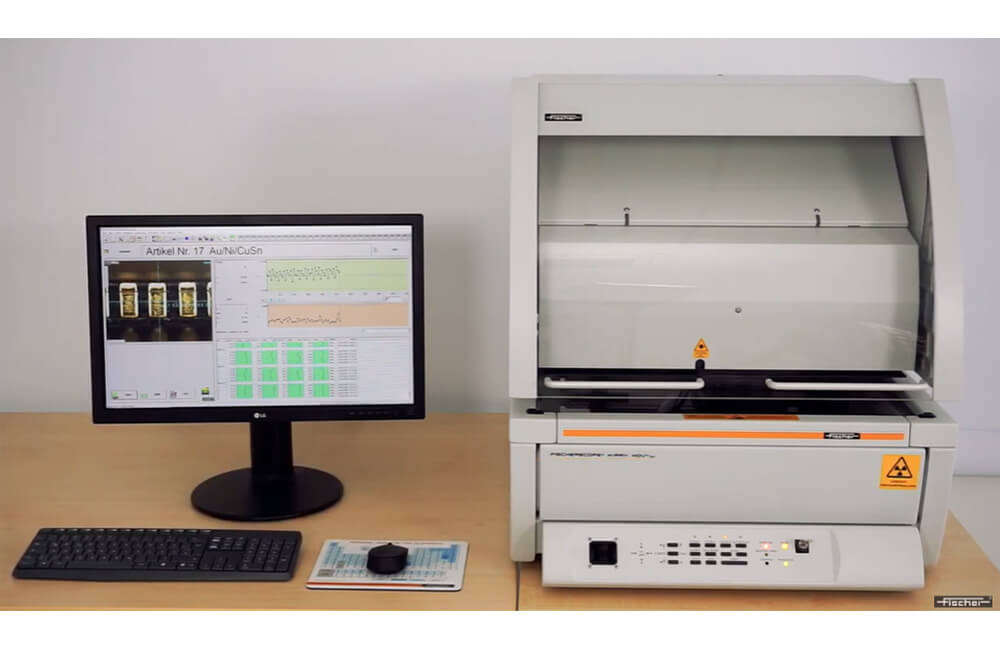
We have developed the FISCHERSCOPE® X-RAY XDV®-µ especially for measuring smallest structures and components with short measuring times. A large-area silicon drift detector and the polycapillary optics enable precise, repeatable measurements e.g. on bond surfaces, SMD components or thin wires. That permits precise quality monitoring of the coatings on printed circuit boards – and ensures their long-term function.

The FISCHERSCOPE® X-RAY XDV®-µ LD is your XRF instrument for the measurement of bulky samples. Due to the measuring distance of 12 mm, even assembled PCBs can be measured without any problems.

  • Microfocus tube with tungsten anode; molybdenum anode optionally available
  • Flexible, 4-fold exchangeable primary filter
  • Polycapillary optics for particularly small measuring spots (10 – 60 µm FWHM) with short measuring times
  • Silicon drift detector
  • Video system with 3× optical zoom for precise sample positioning
  • Precise, programmable measuring stage for automated measurements

  • Simultaneous measurement of up to 24 elements, from Al(13) to U(92), XDV-μ LD: S(16)-U(92)
  • Advanced polycapillary optics that focuses the X-ray beam down to 10 μm (FWHM) for measuring on microstructures
  • Programmable XY stage and pattern recognition for automatic measurements on multiple samples
  • Extending sample stage for easy positioning of the sample
  • Guided calibration process
  • Robust design for long-term use
  • Optical microscope (270x magnification) with video, laser pointer to show the exact measuring spot
  • Fundamental parameter analysis for measurements without calibration
  • Complies with IPC-4552A, 4553B, 4554 and 4556, ASTM B568, ISO 3497
  • Fischer's certified standards are traceable to internationally recognized base units
  • Au/Pd/Ni/CuFe and Sn/Ni coatings in the micro- and nanometer range
  • Assembled and unassembled circuit boards
  • Testing of base metallization layers (under-bump metallization, UBM) in the nanometer range
  • Measurement of light elements, e.g. determination of the phosphorus content (in ENEIG/ENEPIG) under Au and Pd
  • Lead-free solder caps on copper pillars
  • Testing the elemental composition of C4 and smaller solder bumps, as well as small contact surfaces in the semiconductor industry

Automated Measurements on Smallest Structures using Pattern Recognition | X-RAY XDV-µ | Fischer

The FISCHERSCOPE X-RAY XDV-µ is the XRF spectrometer of champions for champions! Benefit from measurements on small structures, short measuring times, automatic positioning via image recognition and low standard deviation. By using the FISCHERSCOPE® X-RAY XDV®-µ XRF, measurements on smallest structures can be performed.

FISCHER│X-Ray XDV-µ Tutorial Part 1: Introduction

The FISCHERSCOPE® X-RAY XDV-μ series is designed for precise coating thickness measurement and material analysis on very delicate structures. All devices are equipped with polycapillary optics that focus the X-ray beam, making measuring spots (fwhm) with diameters between 10 and 60 μm possible. The high intensity of the focused radiation results in a short measuring duration.

Helmut Fischer

Fischer is a leading specialist in material analysis, coating thickness measurement and material testing since 1953. We offer a wide range of measuring devices for different industries: from simple handheld devices for quick testing on the go to fully integrated, high-end systems that automatically monitor your production.

In the 1980s and 90s, Fischer greatly expanded its product range. In addition to a hardness tester, the first X-ray fluorescence (XRF) instrument was launched in 1981. Numerous patented innovations helped the devices to quickly establish themselves in industrial use – because customers appreciate the reliability and measuring precision of Fischer instruments.

[]